
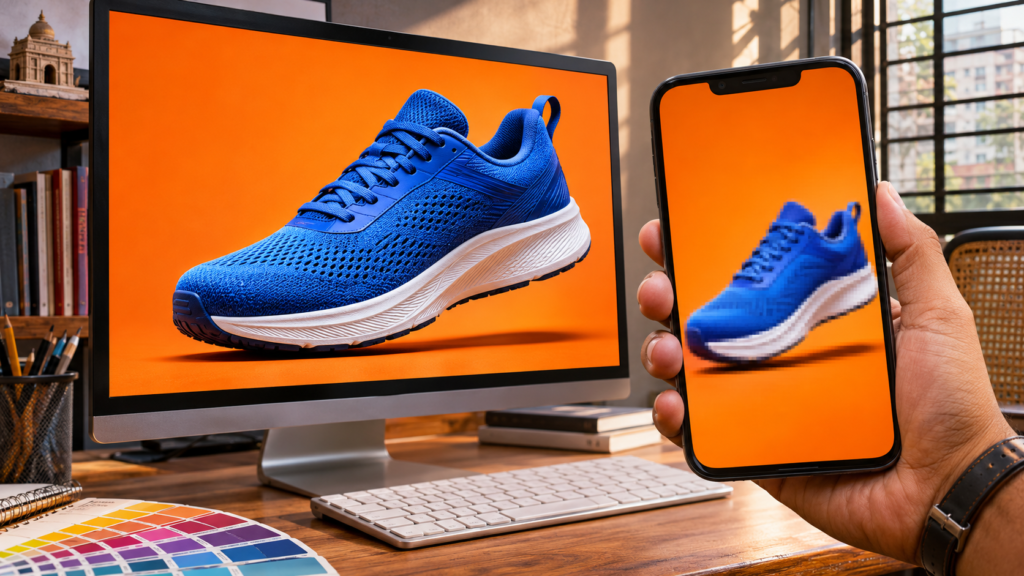
You finish a workshop poster. In Photoshop, the photo, logo and date look clear. After you post it, the logo looks fuzzy and the date is hard to read on a phone.
The fix depends on what went wrong. Here are three common causes—and a quick way to check each one.
1. The source image was too small
A photo or logo has a fixed number of pixels. If you stretch a 600 × 600 pixel image to 1200 × 1200, your software must invent the extra pixels. The file gets bigger, but the original detail does not return.
Try this: zoom into the original logo or photo before placing it in the poster. If its edges already look rough, ask for a larger original. For a logo, a vector file is ideal because its shapes can be resized cleanly. Keep important words as editable text instead of enlarging a screenshot of them.
An AI-generated image is also a pixel-based image. Check its size before using it as a large background; add your real logo, price and headline separately so you can control their quality.
2. The export damaged fine details
A low-quality JPG can introduce fuzzy marks around text and sharp lines. PNG preserves the exported image without that kind of compression, making it a useful choice for graphics with prominent text or simple shapes. A high-quality JPG often works well for a photo-heavy post.
Remember: saving an already blurry image as PNG will not make it sharp. Start with a good source, then choose the format.
3. The design is too small to read on a phone
Sometimes the image is technically sharp, but the date and call to action are tiny when the post appears in a feed. A story, square post and cover photo also have different shapes; an automatic crop may cut off important content.
Try this: view the finished design at the size people will actually see on their phones. Make the main message larger, remove unnecessary words and check that nothing important sits near a cropped edge.
What about “300 DPI”?
Changing a file from 72 to 300 PPI without resampling does not add pixels. A 600 × 600 image still has 600 × 600 pixels. PPI affects its calculated print size; for an online post, check the pixel width and height instead.
The one-minute check before publishing
- Check the current size and shape required for the post placement.
- Use a sufficiently large original photo and logo.
- Export at the intended pixel dimensions: try PNG for text-heavy graphics or a high-quality JPG for photographs.
- Open the exported file on your phone. Check the logo, headline and small details.
- After uploading, inspect the published post. If the saved file is sharp but the post is not, review how it was resized or cropped.
A professional design needs to work where people will see it, not only inside the editor. Transfotech Global Bangladesh’s AI Powered Graphics Design Program gives learners hands-on practice with Photoshop, Illustrator, social media layouts, web exports and AI-assisted visuals—skills they can apply to real projects.